
When setting up a shop for woodworking, there are many things that you need to keep in mind. Here are some of the main things to consider when setting up your shop: Bench dogs, Cabinets, and Dust collection systems. These are some tips to help you make your shop more productive. It will also help you organize your workbench to make it more convenient. You'll also need your bench dog in the future.
Workbench placement
There are several considerations when setting up your woodworking shop, and one of the most important is the workbench. A workbench allows you to have a solid base and vices to hold your wood while you are cutting and shaping it. Also, it is important to have adequate storage space for all of your power tools and hand tools. Proper storage is essential for woodworking. Here are some tips to help you choose the right workbench.
Dust collection system
You can install a dust collection system in your woodworking shop using a variety of different systems. A good system will make woodworking more enjoyable and safer. A dust collection system will allow you to work more efficiently, without the hassle of cleaning and emptying multiple containers. A shop vac can be used to tidy up your woodworking shop. This will help you save time and reduce the amount of cleaning required.
Cabinets
When choosing cabinets to fit a woodworking shop layout, there are many things you should consider. An area is needed to store tools, lumber, and supplies. You will also need space for a stationary machine, a finishing area, and storage for wood pieces. Your workshop layout should have enough space between the walls and your bench to allow for easy movement and work. Dust collection should be an integral part of your workshop layout. Dust from power tools such as sanders can be very large. Dust collection systems are able to eliminate most of the dust.
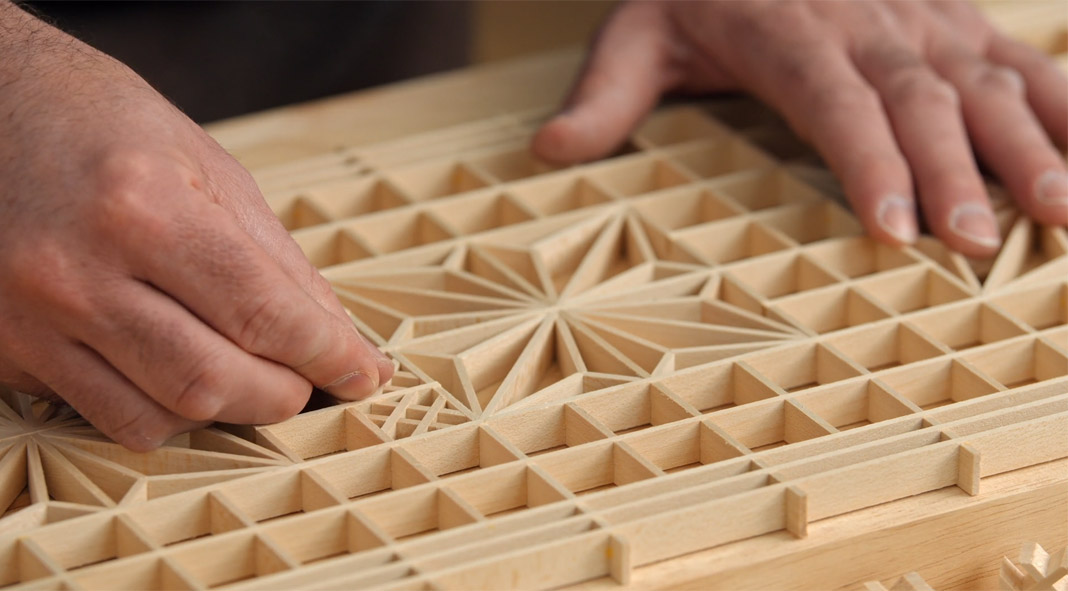
Bench dogs
A set of bench canines is a must have accessory in your woodworking shop. You can buy bench dogs at various prices or make your own. These clamps are great for holding items such as wood, nails, and chisels. A diagram can be drawn to determine how many holes you'll need. Without too much wobble, a dowel rod should fit in each hole.

Storage units
You may not have many tools to store in your woodworking shop. However, once you've begun making items, you will likely have plenty of inventory. You can make in-stock items or order more for your customers. Renting storage units is a smart business move. Your inventory will have plenty of room, and you can keep your office clutter-free. Apart from renting storage units you can also purchase shelves and organizers for your supplies and completed projects.
FAQ
What kind of wood should you use?
The most commonly used woods for woodworking are oak, maple, cherry. Each type of wood has unique characteristics that affect the look and feel of the final product. For example, oak tends to be darker and harder than other woods. Birch, which is lighter and soft, is more heavy than mahogany. You also have the option of solid wood or veneers. Veneers are thin sheets or wood that are glued together into one layer.
What is the minimum investment a hobbyist needs to make in order to get started?
A lot of capital is required to purchase the necessary supplies and tools if you want to start your own woodworking shop. It's a good idea to buy a small tablesaw, drill press and circular saw. These items aren’t too expensive so you won’t have to break the bank.
Where can I locate free woodworking plans
To find free woodworking plans, you don't have to buy any magazines or books. You only need to Google search. Search Google for "free woodworking" to see hundreds of sites that provide free plans.
Is it easy to start a woodworking business?
It is difficult to start your own woodworking company. There are many laws and regulations you need to be aware of. It doesn't mean that you have to go through the entire process of starting a business. Many people prefer to join existing companies. You will only have to pay membership fees, taxes, and other charges.
How often should I buy new supplies?
You will likely need to replace some tools over time. You'll need to sharpen your hand tools regularly if you use them. Power tools will require replacement parts every so often. You can spread your purchases over a number of months to avoid spending too much.
How do you calculate woodworking prices?
The most important thing to remember when calculating costs for any project is to keep them as low as possible. You should always try to make sure that you are getting the best deal on materials. Also, consider all other factors that can affect the price of your projects such as skill level, experience, time and cost. To get an idea about the average cost for common household DIY tasks, see our guide to the average woodwork project price.
Where do I get my woodworking supplies?
There are many places where you will find everything that you need. You can visit your local hardware stores, or you can look online at sites like Amazon.com.
You can also search flea and garage sales for furniture and other materials that can be reused.
Statistics
- If your lumber isn't as dry as you would like when you purchase it (over 22% in Glen Huey's opinion…probably over 10-15% in my opinion), then it's a good idea to let it acclimate to your workshop for a couple of weeks. (woodandshop.com)
- Average lumber prices rose about 600 percent between April 2020 and May 2021. (familyhandyman.com)
- Overall employment of woodworkers is projected to grow 8 percent from 2020 to 2030, about as fast as the average for all occupations. (bls.gov)
- Most woodworkers agree that lumber moisture needs to be under 10% for building furniture. (woodandshop.com)
External Links
How To
How to stain wooden surfaces
The process of staining wood involves the application of chemicals to the wood's surface, which causes it to change its color. This chemical reaction causes wood to turn from whiteish to brownish. Oak is the most common wood type for staining. However, you can also use other wood types.
There are many ways to stain wood surfaces. Some methods include mixing the stain along with a solvent like turpentine and then applying the mixture to the wood by brushing or spraying. You can also apply a solution containing water and dye directly to the wooden surface. It is possible to mix stain into varnishes and paints, making it part of the finishing coat.
Preparing your wood for staining is the first thing to do. Cleaning the wood thoroughly removes any dirt or grease that could interfere with applying the stain. Sanding the wood smooths out rough spots and scratches. You must then decide on the type of stain that you wish to use. There are two types of stains that can be used: penetrating and non-penetrating. Penetrating stains penetrate deeper than non-penetrating stains, which makes them great for dark colors like mahogany. Non-penetrating oils work best when used with light colors, like maple.
After deciding on the type of stain, you want to apply, prepare your tools. The best tool for applying stains is a paintbrush. It allows you to evenly distribute the liquid over the surface. You should also have some handy rags to wipe up excess stains after you finish painting. If you plan on mixing the stain yourself make sure that you have enough containers to hold the different components.
Once you have prepared your materials, start by cleaning the area where you plan to stain the wood. Use soap and warm water to remove dust and grime. Wipe down all furniture pieces with a dampened cloth and clean water. If you intend to stain darker wood, make sure you get rid of any debris.
Next, apply the stain. Apply the stain by brushing or spraying it onto one side of the furniture. Slowly and carefully move along the grain of wood, slowly but steadily, until you reach the other end. The stain should not drip off of the wood's edge. Let the stain dry completely before proceeding with the next steps.
A coat of clear polyurethane sealing agent is applied to protect the paint. Apply three coats with polyurethane. Allow the third coat of polyurethane sealer to dry overnight before applying the final coat.