Properly setting up your router table is crucial. Here are some helpful tips to properly set up your router. This article will help you adjust the distance between your bits to avoid overheating. We will also cover how to make router spacers. Finally, we'll discuss hot glueing and how it can be used to remove workpieces without damaging the rest.
How to set up a router tablet
To use a routertable, it is important to set the fence at the proper distance from the table. To make bit height adjustments more simple, most router tables have a lift plate. The lift plate must be in flush alignment with the table's surface. To help determine the right alignment, you may use a straightedge. You may have to take the lift out or adjust its distance from a table to adjust the height.

How to adjust the cutting distance
You might have wondered how to adjust cutting distance when using your router. In essence, this involves adjusting the depth of the cutting blade to the right or left, and this is done with the router base adjustment. Depending on the material, you may only need to make one pass to make a decorative edge, or you may need to make several passes to cut thicker material. The router bit's power and the level of your personal comfort will determine the depth of cut. A small test piece is recommended if you are not sure which setting you should use.
How to prevent router bits from overheating
Many modern routers come with variable speed motors. Larger bits will have faster rim speeds than smaller ones. Also, panel raising bits with large dimensions will heat up more quickly if it is being run at high RPMs. A straight bit of 1/4" diameter should be run at higher RPMs to ensure smooth cuts. You can avoid overheating by setting the feed rate at the right speed for the wood type you are working with.
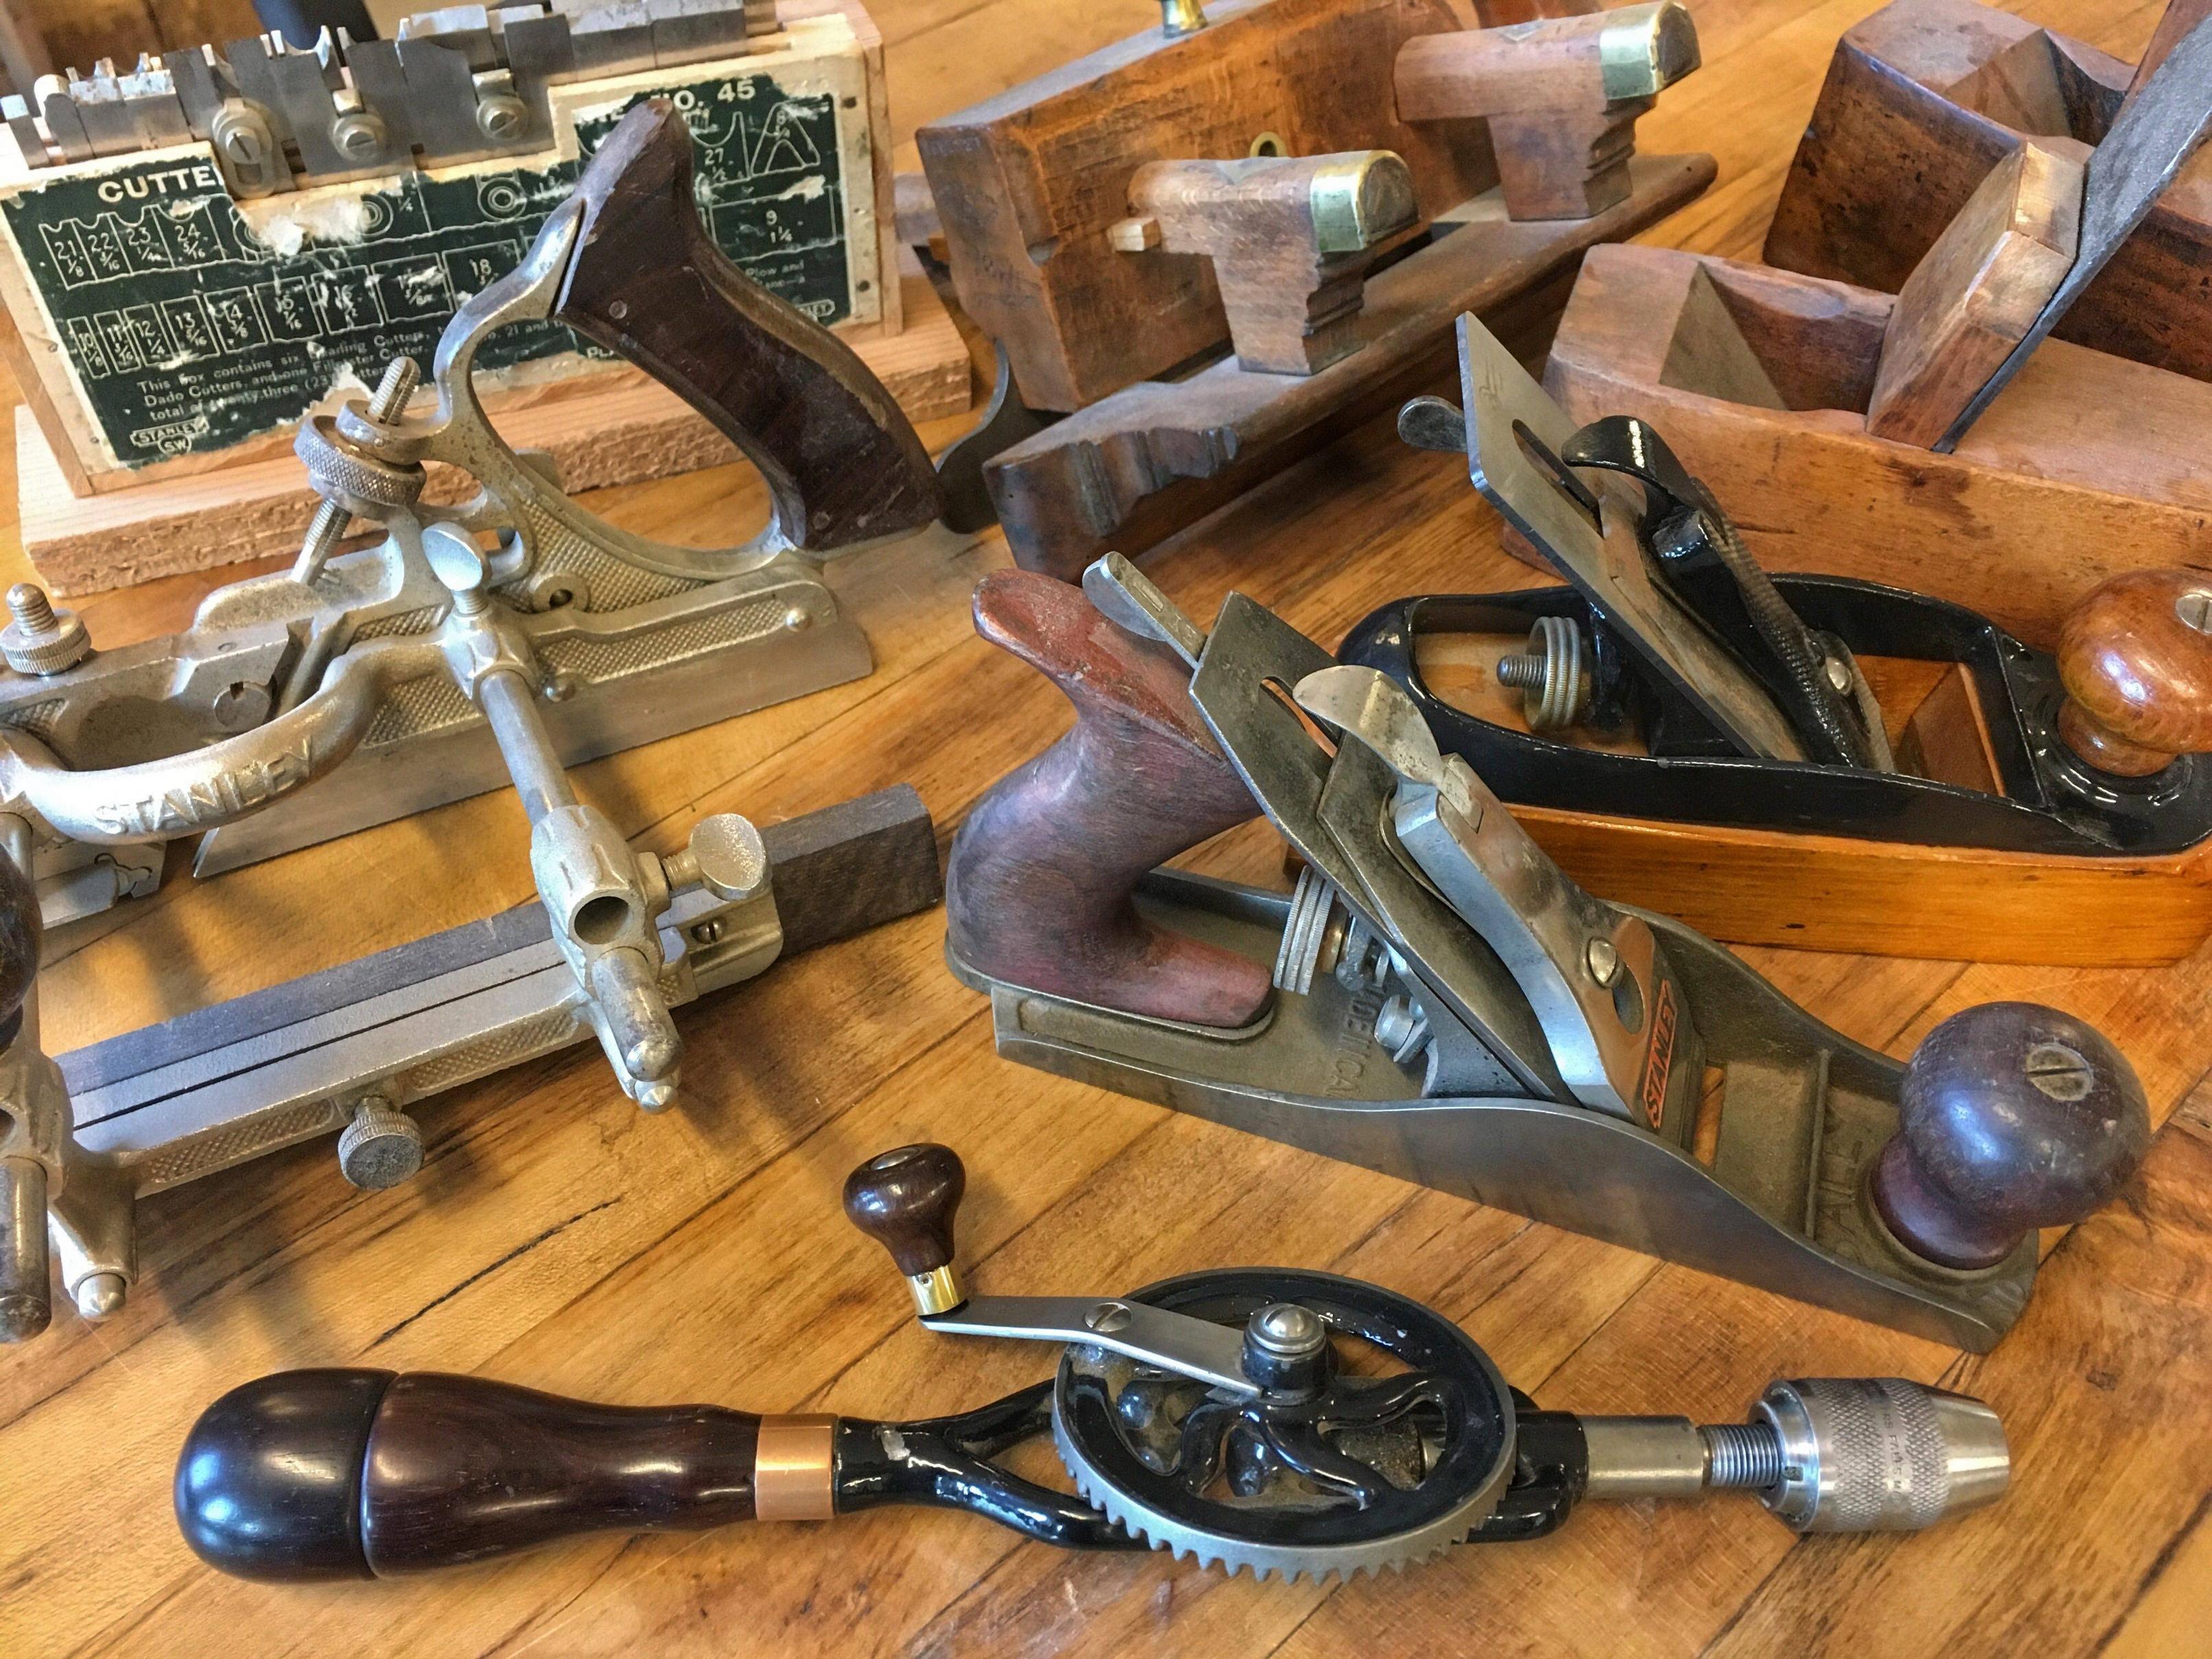
How to make router spacers
Once, a reader asked how to make router spacesrs. To prevent climb cuts, Mike Pekovich suggests using spacers at the router table. Climb cuts are caused by incorrectly feeding work left to right. The router passes will cause the spinning bit to be moved under the fence by adding a spacer. This will prevent climb cuts. Spacers can either be made of 1/8" and 3/16" plywood.
How to fix a router at a shelf edge so that you can flush-trim solid wood edges
The edge banding on shelves and cabinets should not be removed when you are edging them. You can slide the trimmer in the same direction as the grain to make your cut, but any direction that cuts in any direction will damage the edge. For a smoother edge, a flush-trim router bits is a better choice. This flush-trim router bit is ideal for this purpose. You will need a panel to support it on the edge.

How to make a router pattern
Before you start making a router layout, you have to decide how to offset your cutter bits. The offset refers to the distance between the cutting edge of your router bit and the guide bushing. The offset is calculated by subtracting the bit diameter from that of the guide bushing. Divide this result by two. The following chart gives the offset for common guide-bit and router-bit diameter combinations. Please note that certain offsets won’t work if your router bits are too large.
FAQ
Is it necessary to be a genius in woodworking to succeed?
No. No. Woodworking isn't rocket science. Anyone can learn to use basic powertools and techniques to create beautiful work of art.
Do I have the potential to make a decent living doing this?
Yes! In fact, many woodworkers already do. According to U.S. Bureau of Labor Statistics (BLS), woodworkers earned a median annual salary of $34,000 in May 2012. This is higher than the $31,000 annual national average.
What's the difference?
Hobbyists like making things with wood. Professionals focus more on quality. Hobbyists usually take pride in their creations and often share them with friends and family. Professionals will spend hours researching designs before they begin working on a project. They will meticulously plan every detail of their work from choosing the right materials to finishing it.
Statistics
- The U.S. Bureau of Labor Statistics (BLS) estimates that the number of jobs for woodworkers will decline by 4% between 2019 and 2029. (indeed.com)
- Overall employment of woodworkers is projected to grow 8 percent from 2020 to 2030, about as fast as the average for all occupations. (bls.gov)
- In 2014, there were just over 237,000 jobs for all woodworkers, with other wood product manufacturing employing 23 percent; wood kitchen cabinets and countertop manufacturing employing 21 percent. (theartcareerproject.com)
- If your lumber isn't as dry as you would like when you purchase it (over 22% in Glen Huey's opinion…probably over 10-15% in my opinion), then it's a good idea to let it acclimate to your workshop for a couple of weeks. (woodandshop.com)
External Links
How To
How can you accurately measure wood?
We have several ways to measure wood. We use a digital caliper (a tool used to measure distances), a laser level (used to make sure your work surface is flat), and a bubble level (used to make sure your work surface is perpendicular).
A digital caliper can have two jaws, which open and close. One jaw holds a measured object and the other measures distances between the points. The digital calculator is ideal for measuring very small distances, like the thicknesses or wood.
Laser levels are equipped with an infrared light beam, which projects a line across a floor. The laser emits a red dot on the line. By looking down the line, you can see whether the surface is even or not. For larger surfaces, laser leveling is the best method of checking accuracy.
Bubble levels look similar to a compass. There is a bubble at the center of this device. As long as the bubble is centered, the device will tell you whether the surface is level or not. The bubble levels can be used to check the accuracy of smaller areas.