How does a sanding scroll saw work? Here are some tips on how to properly use a scrollsaw. Make sure your hands are in the right places, hold the wood on your table, plan your cuts and sit at the right height. The right tool is needed for the job. Here's a video to get you started. Then follow our easy steps to get started. This video should help make you a scrollsaw master.
Setting the right speed to sand a scrollsaw
Set up the blade and blower of your scroll saw. The blower should be aimed at the blade or nozzle, depending on the type of cut you're trying to make. Also, prepare your scroll saw by making sure the belt is tight and lubrication is in place. This is vital for sanding. However you can also adjust blade settings to achieve desired results.
You must first examine your blade in order to set the correct speed for sanding. A well-balanced tool will not vibrate excessively and should leave a thin, sharp line. If the blade appears blurred or sloppy, it is probably out of tune. Set the scroll saw to a slower speed if it is not cutting the material well.
A scroll saw makes it easy to make on-the-spot turn
A scroll saw allows for unparalleled control in cutting, but it's important to take precautions before you use it. First, ensure the wood is dry before you start using it. Next, study the grain patterns of your project. Tape can be used to maintain the blade straight. Also, it will help you ensure that the cut is square. After you're done cutting, take off the tape and sand your edges. After you are done, spray lacquer. Scroll saws can pose a danger to your health so be sure to follow these safety precautions.
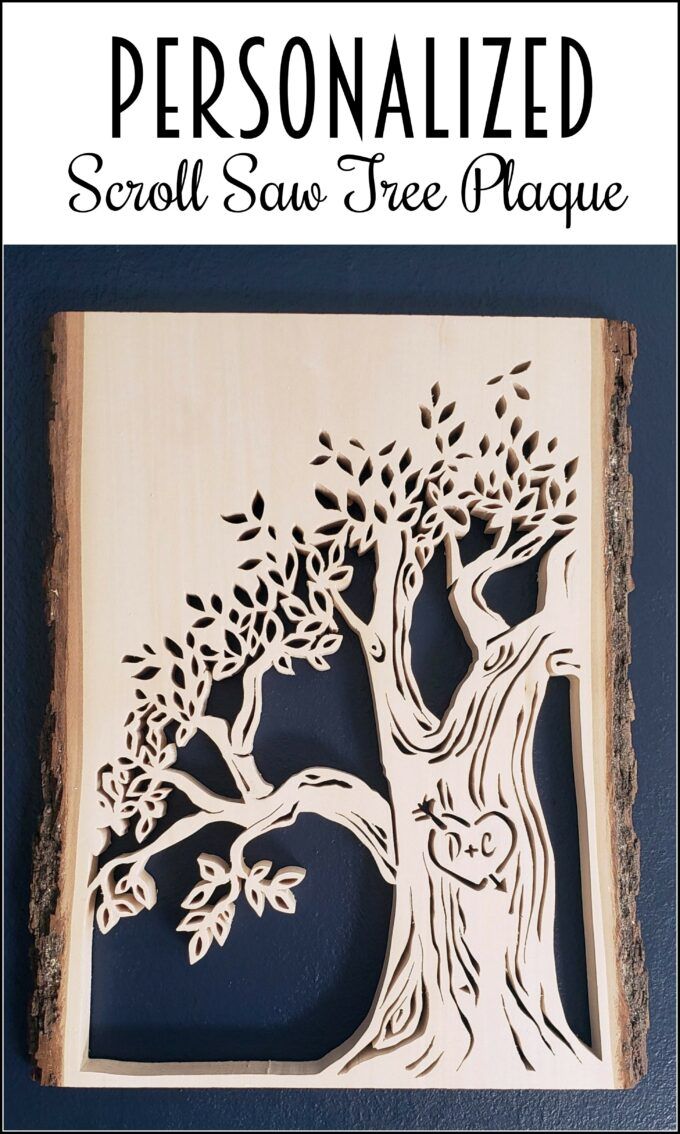
A pattern is needed after you've determined what to cut with the scroll saw. To avoid the blade from veering off of the line, leave some "positive" spaces. Mark the pattern using a pencil. After you have created your pattern, take off the appropriate gear. Next, use the scroll saw to guide your project. Be sure to use the smallest size blade, but be mindful of the dangers associated with veering off.
To sand a scrollsaw, use a pinless sander

It is very simple to use a scroll-saw sander with a pinless motor. Scroll saws come with a belt you can adjust to smoothen the edges. It is compatible with most scroll saws of five inches. The belt can be used as a guide to help correct wandering lines and burns. You can buy belts with different grits to fit the different needs of your scroll saw.
Pinless scroll saws are compatible most all conversion adapters. They can be attached to the blade at the end, just as a Plain End blade or Pinned Blade. To use one, simply cut off the pivot head. Simply attach the adapter and swap the blade to convert a Pinless from an End sander.
Use a sanding wheel to sand the scroll saw
The smoothness of your woodworking projects' edges can be greatly improved by using a scroll saw sanding blade. These belts are made out of durable plastic and can be mounted to most scroll saw models. These belts are most effective for larger woodworking projects (tables, countertops, cabinets), as they can effectively remove bumps as well as correct wandering cuts. These belts are available in 1/4" and 1/2" widths, as well as 80, 120, 180 and 220 grits.

A high-quality sanding belt is able to smoothen the edges of your scrollsaw so that it can be used on many materials. It is best to have a range of grits available so that you can find the right one for your scrollsaw. A good quality grit belt should have a minimum of half an inch width. It should be compatible to most scroll saws, which take a blade of 5 inches.
FAQ
What kind of wood should I use?
The most popular types of wood used in woodworking include oak, pine, birch, maple, cherry, mahogany, teak, poplar, redwood, and bamboo. Each wood type has its own characteristics which affect the final product's appearance and feel. Oak is a darker wood and tends to be more durable than other types. Birch is lightweight and soft while mahogany is heavier and denser. You can also choose from solid wood or veneers. Veneers are thin wood sheets that are glued together to form one layer.
Do you have any advice on how to start a woodworking business.
It takes a lot of effort to start a woodworking business. If you are passionate about your hobby, it will not be difficult to put in the work. Plus, you'll probably enjoy the challenge of running your own business.
When you are launching a new venture, it is important to be aware of the possibility that you will encounter unexpected difficulties. Unexpectedly, money might run out. Or you might find that your customers aren’t willing or able to pay as much you had hoped. To survive, you'll need to be prepared for such situations.
One good tip is to set up a separate bank account specifically for your business. You'll be able to track how much money comes in and out.
How much does a hobbyist need to invest in getting started?
To start your own woodworking company, you will likely need capital to purchase the necessary tools and other supplies. A good place to start would be by buying a small table saw, drill press, circular saw, jigsaw, and sanding machine. These items don't cost much so they won't break your budget.
Is there anything else I should know about woodworking?
It is easy for people to overlook the work involved in furniture making. Finding the right kind of wood is the most difficult part. There are so many varieties of wood available that choosing one can be difficult.
Another problem is the fact that not all wood has the same properties. Woods can warp, split, or crack over time. These factors should be taken into account before buying wood.
Is it possible to learn woodworking by yourself?
The best way to learn anything is by doing. Woodworking is an intricate art form that requires practice, skill, patience, and experience. Mastering any craft takes time.
Learning how to do something is best done by doing it. So start small and build on what you have learned from there.
Statistics
- Woodworkers on the lower end of that spectrum, the bottom 10% to be exact, make roughly $24,000 a year, while the top 10% makes $108,000. (zippia.com)
- Most woodworkers agree that lumber moisture needs to be under 10% for building furniture. (woodandshop.com)
- The best-paid 10 percent make $76,000, while the lowest-paid 10 percent make $34,000. (zippia.com)
- The U.S. Bureau of Labor Statistics (BLS) estimates that the number of jobs for woodworkers will decline by 4% between 2019 and 2029. (indeed.com)
External Links
How To
How to join wood without using nails
Woodworking is a favorite hobby. Woodworking can be a fun hobby because you can work with your hands to make useful objects from wood. You may need to join two pieces without the use of nails. This article will explain how to do this so that your woodwork projects stay beautiful.
Before joining the pieces of wood together, you will need to first trim any edges. Sharp corners can cause problems down the line. After you have completed this step, you are ready to glue your boards together.
You should only glue one side of hardwood. For softwoods like cedar and pine, glue should be applied to both sides. Apply the glue to the boards and press them down until they are securely attached. Before you proceed to the next step, be sure to let the glue dry completely.
After you glue your boards together, drill holes at the joints where screws will be inserted. Depending on the type of screw that you use, the size of these holes will vary. For example, if you intend to use 1/2-inch wood screws, you need to drill a hole that is at most 3/4 inches deep.
Once you have drilled the holes, the next step is to drive your screws through the joint into the board's backside. Do not hit the boards' front surfaces. It will ruin the finish. Try to not hit the ends of the screws when driving the screws. This will prevent the wood from splitting.
After your project is completed, you will need to protect it from the weather. You can either cover the entire furniture or just the top. It doesn't matter what method you use, you want something that will last many years. Examples include oil-based varnishes and polyurethanes, shellac, lacquer and others.
These products can usually be found at any home improvement store. Be sure to choose the right one for your project. Keep in mind that certain finishes can be toxic and should not be used indoors. Protective gear should always be worn when handling these finishes.